Introduction: The Magic of Propagation
Have you ever gazed upon a flourishing plant in your garden and wished you could multiply its beauty? The good news is, you absolutely can! Propagating plants from cuttings is a rewarding and cost-effective way to expand your plant collection, share your favorite varieties with friends, and even save money. It’s a fascinating process that allows you to create new plants, essentially clones, from a portion of an existing one. This guide will take you on a journey through the art and science of plant propagation from cuttings, equipping you with the knowledge and techniques to become a successful propagator.
What is Propagation and Why Do It?
Propagation, in its simplest form, is the process of creating new plants from a variety of sources – seeds, spores, or, as we’ll focus on here, vegetative parts like stems, leaves, and roots. Propagation from cuttings, also known as vegetative propagation or cloning, is particularly appealing because it allows you to create genetically identical copies of the parent plant. This means you get plants with the same desirable traits – flower color, fruit production, disease resistance, etc. – as the original. Unlike growing from seeds, which can sometimes result in variations, propagation from cuttings provides predictability.
There are several compelling reasons to embrace propagation from cuttings:
- Cost Savings: Buying new plants can quickly become expensive. Propagating from cuttings allows you to multiply your existing plants at a fraction of the cost.
- Preserving Favorites: If you have a plant you adore, propagation ensures you’ll always have a piece of it, even if the original plant is damaged or dies.
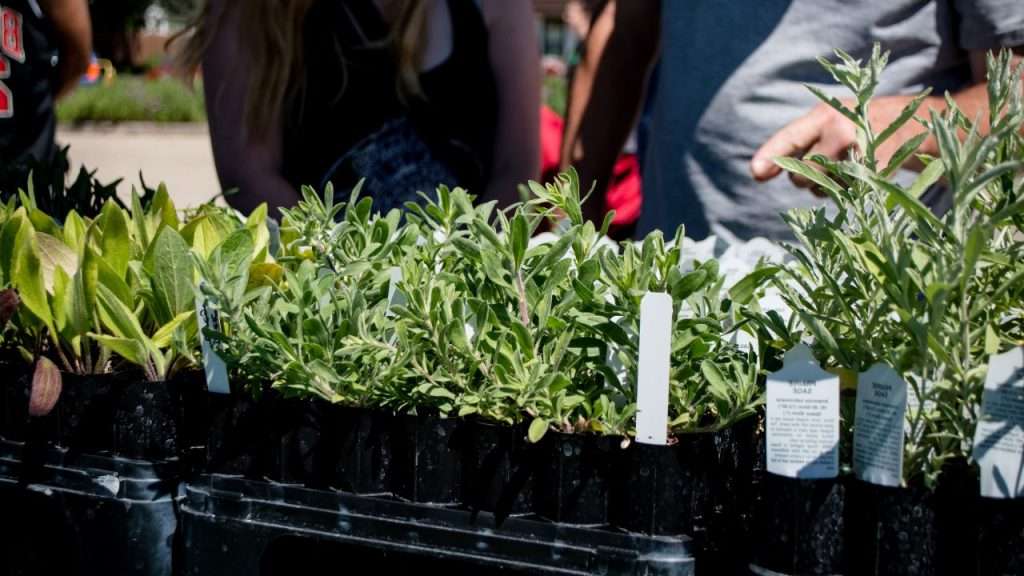
- Sharing the Love: Propagated plants make wonderful gifts for friends and family.
- Expanding Your Garden: Easily fill your garden with more of the plants you love.
- Learning and Satisfaction: The process of propagation is incredibly satisfying. Witnessing a cutting take root and flourish is a true gardener’s delight.
Types of Cuttings
The type of cutting you take depends on the plant species and the time of year. Here’s a breakdown of the most common types:
Stem Cuttings
Stem cuttings are the most widely used method. They involve taking a section of the stem and encouraging it to develop roots. There are several sub-types:
- Hardwood Cuttings: Taken from dormant, mature stems of deciduous plants during late fall or winter. These cuttings are usually 6-12 inches long. Examples include roses, fruit trees, and some shrubs.
- Semi-Hardwood Cuttings: Taken from partially mature wood in late summer or early fall. The wood is firm but not yet fully hardened. These cuttings are often used for evergreen shrubs like camellias and azaleas.
- Softwood Cuttings: Taken from the soft, new growth of plants in spring or early summer. These cuttings root quickly but require careful attention to prevent drying out. Examples include many annuals and perennials, such as petunias and geraniums.
- Herbaceous Cuttings: Similar to softwood cuttings but taken from non-woody stems. These are ideal for herbs like basil and mint.
Leaf Cuttings
Some plants can be propagated from leaves alone. This method works best for plants with specific leaf structures. There are several techniques:
- Leaf-Blade Cuttings: The entire leaf blade is inserted into the rooting medium. This is common for plants like African violets and begonias.
- Leaf-Petiole Cuttings: The leaf blade is removed, and the petiole (leaf stem) is inserted into the rooting medium.
- Leaf-Section Cuttings: The leaf is cut into sections, and each section is planted. This is often used for snake plants (Sansevieria).
Root Cuttings
Some plants can be propagated from sections of their roots. This method is typically used for plants that produce suckers or have easily-regenerated root systems. Examples include raspberries, blackberries, and some perennials.
Essential Tools and Materials
Before you begin, gather the necessary tools and materials. Having everything prepared will make the process smoother and more enjoyable.
- Sharp Knife or Pruning Shears: Essential for making clean cuts. A sharp blade minimizes damage to the plant and reduces the risk of infection. Sterilize your cutting tools with rubbing alcohol or a bleach solution before each use.
- Rooting Medium: A well-draining medium is crucial for successful rooting. Options include:
- Seed Starting Mix: A pre-mixed blend of peat moss, perlite, and vermiculite.
- Perlite: Provides excellent drainage and aeration.
- Vermiculite: Retains moisture and helps with aeration.
- Sand: Coarse sand can be used, but it may not retain enough moisture on its own.
- Containers: Small pots, trays, or even repurposed containers with drainage holes.
- Watering Can or Spray Bottle: For gently watering the cuttings.
- Humidity Dome or Plastic Bag: To create a humid environment that encourages root development.
- Rooting Hormone (Optional): A powder or liquid that stimulates root growth. Not always necessary, but can improve success rates, especially for difficult-to-root plants.
- Gloves: To protect your hands and prevent the spread of diseases.
- Labels and Pen: To identify your cuttings and keep track of their progress.
Step-by-Step Guide to Propagating from Stem Cuttings
Let’s walk through the process of taking and rooting stem cuttings. This method is versatile and can be adapted to many plant species.
Step 1: Choose Your Plant and the Right Time
Select a healthy, vigorous plant. The best time to take cuttings depends on the plant type (as discussed in the types of cuttings section). Generally, spring and early summer are good times for softwood and herbaceous cuttings, while late summer/early fall is suitable for semi-hardwood, and late fall/winter is ideal for hardwood.
Step 2: Prepare Your Cutting
- Take the Cutting: Using your sharp, sterilized knife or pruning shears, take a stem cutting. The length will vary depending on the plant type. For softwood cuttings, aim for 4-6 inches. For hardwood cuttings, 6-12 inches is typical.
- Remove Lower Leaves: Remove the leaves from the lower part of the stem, leaving only a few leaves at the top. Removing the lower leaves prevents them from rotting when they are buried in the rooting medium.
- Make a Clean Cut: Make a clean cut just below a node (the point where leaves or branches emerge). This is where roots are most likely to develop. For hardwood cuttings, you can also make a slanted cut at the base to increase the surface area for root development.
- Optional: Apply Rooting Hormone: Dip the cut end of the stem in rooting hormone powder or follow the instructions for liquid rooting hormone. This is often beneficial, especially for woody plants. Gently tap off any excess powder.
Step 3: Prepare the Rooting Medium
Moisten your chosen rooting medium. It should be damp but not soggy. Fill your containers with the prepared rooting medium.
Step 4: Insert the Cutting
Make a small hole in the rooting medium with a pencil or your finger. Insert the cut end of the stem into the hole, burying the leafless portion of the stem. Gently firm the medium around the cutting to provide support.
Step 5: Create a Humid Environment
This is critical for success, as it helps prevent the cutting from drying out before it can develop roots. Cover the pot or tray with a humidity dome or place a clear plastic bag over the cutting, securing it with a rubber band or tape. Ensure the plastic doesn’t touch the leaves.
Step 6: Provide Proper Care
- Light: Place the cutting in a location with bright, indirect light. Avoid direct sunlight, which can scorch the leaves.
- Watering: Keep the rooting medium consistently moist but not waterlogged. Check the medium regularly and water when the surface feels dry. Avoid overwatering, which can lead to rot.
- Ventilation: If using a plastic bag, open it briefly every few days to allow for air circulation and prevent fungal diseases.
Step 7: Patience and Observation
Rooting can take anywhere from a few weeks to a couple of months, depending on the plant species and the time of year. Be patient! Gently tug on the cutting to check for resistance, which indicates roots have formed. You can also gently lift the cutting to inspect for roots. When the roots are well-developed, it’s time to transplant.
Step 8: Transplanting Your Rooted Cutting
Once the cutting has developed a healthy root system, it’s time to transplant it into a larger pot or directly into the garden. Gently remove the cutting from the rooting medium, being careful not to damage the delicate roots. Plant it in a well-draining potting mix appropriate for the plant species. Water the newly planted cutting thoroughly and continue to provide proper care, including adequate light, water, and fertilization.
Propagating from Leaf Cuttings: A Closer Look
Leaf cuttings offer a different approach, best suited for certain plant varieties. Let’s explore the different methods:
Leaf-Blade Cuttings
This method is often used for plants like African violets and some varieties of begonias.
- Take a Healthy Leaf: Select a healthy, mature leaf from the plant.
- Prepare the Leaf: Cut the leaf blade from the petiole (leaf stem), leaving a small portion of the petiole attached.
- Plant the Leaf: Insert the petiole into the rooting medium, burying it about an inch deep. Alternatively, you can lay the leaf flat on the surface of the rooting medium, with the petiole inserted.
- Provide Humidity and Care: Cover the container with a humidity dome or plastic bag and provide bright, indirect light. Keep the rooting medium moist.
Leaf-Petiole Cuttings
This method involves planting the leaf stem (petiole) only. It’s also suitable for African violets and certain other plants.
- Take a Healthy Leaf: Choose a healthy leaf.
- Remove the Leaf Blade: Carefully remove the leaf blade, leaving the petiole intact.
- Plant the Petiole: Insert the petiole into the rooting medium, burying it about an inch deep.
- Provide Humidity and Care: Cover the container with a humidity dome or plastic bag and provide bright, indirect light. Keep the rooting medium moist.
Leaf-Section Cuttings
This method is commonly employed for snake plants (Sansevieria).
- Cut the Leaf: Cut the leaf into sections, approximately 2-3 inches long. Make sure to note which end was the top and bottom of the leaf.
- Plant the Sections: Insert the bottom end of each section into the rooting medium, burying it about an inch deep.
- Provide Humidity and Care: Cover the container with a humidity dome or plastic bag and provide bright, indirect light. Keep the rooting medium moist.
Propagating from Root Cuttings: A Detailed Guide
Root cuttings are a less common method, but they work well for certain plants, particularly those that readily produce suckers. Let’s delve into the process:
- Choose the Right Plant: This method is suitable for plants like raspberries, blackberries, phlox, and some perennials.
- Timing is Key: The best time to take root cuttings is during the dormant season, typically late fall or early winter.
- Dig Carefully: Gently dig around the base of the plant, being careful not to damage the existing roots.
- Select and Prepare the Roots: Choose healthy roots that are about the thickness of a pencil. Clean the roots and cut them into sections, typically 2-6 inches long.
- Plant the Cuttings: Plant the root cuttings horizontally, about 1-2 inches deep, in a well-draining rooting medium. The top of the cutting (the end closest to the original plant) should be oriented upward.
- Provide Proper Care: Water the cuttings thoroughly and keep the rooting medium consistently moist. Place the container in a cool, dark location for the first few weeks to encourage root development. After the roots have developed, move the cuttings to a location with bright, indirect light.
Troubleshooting Common Problems
Even with the best intentions, you might encounter a few challenges. Here are some common problems and how to address them:
- Rotting: This is often caused by overwatering or a lack of drainage. Make sure your rooting medium is well-draining and allow the surface to dry out slightly between waterings. Improve air circulation and remove any rotting cuttings.
- Drying Out: Cuttings can dry out if they don’t have enough humidity. Ensure you’re using a humidity dome or plastic bag and check the medium regularly to keep it consistently moist.
- Fungal Diseases: Fungal diseases can thrive in humid environments. Provide good air circulation and avoid overwatering. If you notice signs of fungal disease, such as mold or mildew, remove the affected cuttings and consider using a fungicide.
- Lack of Rooting: If your cuttings aren’t rooting, check the plant type, the time of year, and your technique. Ensure the cuttings are receiving enough light and that the rooting medium is appropriate for the plant. Rooting hormone can sometimes help.
Tips for Success
Here are some additional tips to increase your chances of success:
- Choose the Right Plants: Some plants are easier to propagate than others. Start with beginner-friendly plants like coleus, geraniums, and mint.
- Use Sharp Tools: Sharp, clean tools are essential for making clean cuts and minimizing the risk of infection.
- Sterilize Your Tools: Always sterilize your cutting tools before each use to prevent the spread of diseases.
- Provide Adequate Humidity: Humidity is crucial for preventing cuttings from drying out.
- Be Patient: Rooting can take time. Don’t give up if you don’t see results immediately.
- Keep a Journal: Keep track of your propagation efforts, including the plant species, the date, the method used, and any observations. This will help you learn and improve your technique over time.
- Experiment: Don’t be afraid to experiment with different methods and techniques.
- Research Specific Plants: Each plant species has its own specific requirements. Research the best propagation methods for the plants you want to propagate.
Conclusion: Embrace the Joy of Propagation
Propagating plants from cuttings is a rewarding experience that allows you to connect with the natural world in a deeper way. It’s a process filled with anticipation, learning, and the pure joy of watching a tiny piece of a plant transform into a thriving new life. Armed with the knowledge and techniques outlined in this guide, you are well-equipped to embark on your own propagation journey. So, gather your tools, choose your favorite plants, and get ready to unlock the magic of multiplying your botanical treasures. Happy propagating!


