Cultivating a Microgreen Empire: Your Comprehensive Guide to Growing Specialty Microgreens
The world of culinary delights is constantly evolving, and at the forefront of this gastronomic revolution is the humble microgreen. These tiny powerhouses, packed with concentrated flavor and nutrients, have captured the hearts (and taste buds) of chefs, health enthusiasts, and home gardeners alike. If you’re looking to embark on a rewarding and increasingly popular journey, growing specialty microgreens could be the perfect venture for you. This comprehensive guide will provide you with everything you need to know, from selecting the right seeds to harvesting your flavorful bounty, transforming you from a novice to a microgreen maestro.
Why Microgreens? A Delicious and Nutritious Choice
Before we dive into the ‘how,’ let’s explore the ‘why.’ Microgreens aren’t just a trendy garnish; they are a nutritional goldmine. These young, edible seedlings offer a concentrated dose of vitamins, minerals, and antioxidants, often surpassing the nutritional value of their fully grown counterparts. Consider them miniature superfoods! Beyond their health benefits, microgreens elevate any dish with their vibrant colors, diverse textures, and unique flavors. Whether you’re a seasoned chef or a casual home cook, microgreens can add an element of sophistication and freshness that’s hard to beat.
Getting Started: Essential Supplies for Microgreen Success
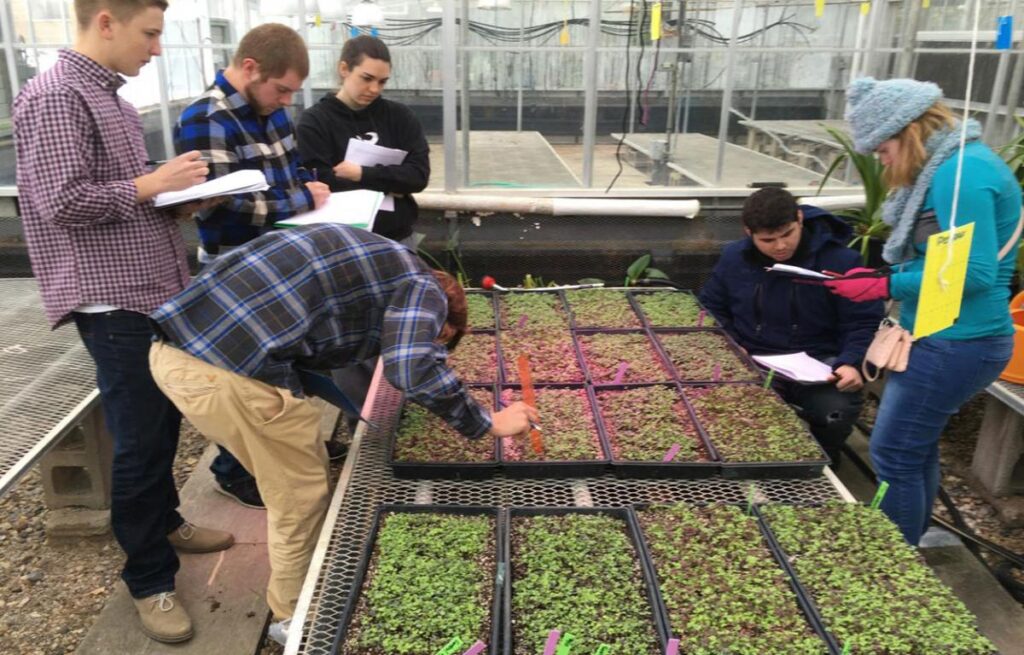
Embarking on your microgreen adventure is surprisingly simple, and the initial investment is relatively modest. Here’s a breakdown of the essential supplies you’ll need:
1. Seeds: The Foundation of Your Microgreen Garden
Choosing the right seeds is paramount. Not all seeds are created equal, and some are better suited for microgreen production than others. Look for high-quality seeds specifically labeled for microgreen use. These seeds are often treated to ensure optimal germination and are free from harmful chemicals. Consider the flavor profiles you want to offer. Some popular choices include:
- Radish: Known for their peppery kick and vibrant colors.
- Broccoli: A classic choice, offering a mild, slightly earthy flavor.
- Sunflower: Nutty and crunchy, providing a satisfying texture.
- Pea Shoots: Sweet and tender, with a delicate flavor.
- Mustard: Adds a spicy bite to your creations.
- Amaranth: A vibrant, colorful microgreen with a subtle earthy flavor.
Experiment with different varieties to discover your favorites and cater to the preferences of your potential customers.
2. Growing Trays: Your Microgreen Habitat
You’ll need shallow trays to house your microgreens. These can be plastic or biodegradable, depending on your preference and environmental considerations. Look for trays with drainage holes to prevent waterlogging, a common cause of fungal diseases. You’ll also need a solid tray, without holes, to place underneath the tray with holes to catch any excess water that drains through.
3. Growing Medium: The Soil of Your Success
The growing medium provides the foundation for your microgreens. Several options are available, each with its pros and cons:
- Soil: A classic choice, soil provides excellent nutrient retention and drainage. Opt for a high-quality, organic seed-starting mix.
- Coco Coir: Made from coconut husks, coco coir is a sustainable and highly absorbent medium.
- Peat Moss: Another popular option, peat moss is lightweight and retains moisture well. However, consider its environmental impact.
- Hemp Mats: A growing medium made from hemp fibers, hemp mats are a sustainable option that can be used repeatedly.
Ensure your chosen medium is clean, well-draining, and free from pathogens.
4. Lighting: Fueling Photosynthesis
Microgreens require adequate light for optimal growth. While natural sunlight can work, it can be inconsistent and may not provide enough light, especially during the winter months. Consider using:
- Grow Lights: LED grow lights are an energy-efficient and effective option, providing the specific wavelengths of light that microgreens need.
- Fluorescent Lights: T5 fluorescent lights are another viable choice, though they may not be as energy-efficient as LEDs.
Position your lights a few inches above your trays and adjust the height as your microgreens grow.
5. Watering System: Keeping Your Microgreens Hydrated
Proper watering is crucial. Overwatering can lead to mold and disease, while underwatering can stunt growth. The best approach is to water from the bottom, allowing the growing medium to absorb water. Alternatively, you can gently mist your microgreens with a spray bottle, ensuring even coverage. Avoid using tap water, which may contain chlorine or other chemicals. Filtered water or rainwater is ideal.
6. Other Essentials
- Spray Bottle: For misting and watering.
- Weight (optional): A flat weight, such as a tray or a book, can be placed on top of the seeds during the germination phase to encourage root development.
- Labels: To identify your different varieties.
- Scissors or a Sharp Knife: For harvesting your microgreens.
Step-by-Step Guide to Growing Microgreens
Now that you have your supplies, let’s get down to the nitty-gritty of growing microgreens:
1. Prepare Your Trays
Fill your trays with your chosen growing medium, leaving about an inch of space at the top. Gently level the surface.
2. Sow Your Seeds
Sprinkle the seeds evenly over the surface of the growing medium. The density of seeding depends on the microgreen variety. As a general rule, aim for a dense but not overcrowded planting. Refer to the seed packet for specific recommendations.
3. Water Your Seeds
Gently mist the seeds with water or water from the bottom of the tray. Ensure the growing medium is evenly moistened.
4. Cover and Darken (Germination Stage)
Cover the tray with another tray or a lid to create a dark, humid environment, which promotes germination. If using a weight, place it on top of the cover tray.
5. Maintain Humidity and Darkness
Check your trays daily and mist with water if needed to keep the growing medium moist. Leave them covered for about 2-4 days, or until the seeds have sprouted.
6. Introduce Light
Once the seeds have sprouted, remove the cover and place the trays under your grow lights. Ensure the lights are positioned at an appropriate height (a few inches above the microgreens).
7. Watering and Monitoring
Continue to water your microgreens from the bottom or by misting as needed. Monitor them closely for any signs of mold, mildew, or pests. Good air circulation is key to preventing mold. Consider using a small fan to circulate the air.
8. Harvesting
Harvest your microgreens when they reach the desired size, typically 1-3 weeks after sowing, depending on the variety. Use scissors or a sharp knife to cut the microgreens just above the soil line. Harvest as needed, ensuring you don’t harvest more than you can use in a few days for optimal freshness.
9. Cleaning and Replanting
After harvesting, clean your trays thoroughly before reusing them. Discard the used growing medium and start again with fresh medium and seeds.
Specialty Microgreens: Exploring the Diverse World of Flavors
While the basics of growing microgreens remain consistent, the world of specialty microgreens offers a vast array of flavors, textures, and visual appeal. Let’s delve into some popular and unique options:
1. Flavor Profiles
Microgreens offer a spectrum of flavors, from the peppery bite of radish and mustard to the sweet tenderness of pea shoots. Consider these flavor profiles when choosing your seeds:
- Spicy: Radish, Mustard, Wasabi.
- Earthy: Beet, Spinach, Kale.
- Mild: Broccoli, Cabbage, Cauliflower.
- Nutty: Sunflower, Amaranth.
- Sweet: Pea Shoots, Basil.
2. Unique Varieties
Beyond the common varieties, explore these specialty microgreens:
- Shungiku: A Japanese chrysanthemum with a distinct, slightly bitter flavor.
- Cilantro: Adds a fresh, citrusy note to any dish.
- Kohlrabi: Offers a mild, cabbage-like flavor.
- Arugula: Known for its peppery bite and distinctive flavor.
- Red Garnet Amaranth: A vibrant, visually appealing microgreen with a mild earthy flavor.
3. Color and Texture
Microgreens provide a visual feast. Experiment with varieties that offer a range of colors and textures to elevate your dishes:
- Purple Radish: Adds a splash of vibrant color.
- Red Veined Sorrel: Offers a striking contrast with its red veins.
- Bronze Fennel: Provides a delicate, feathery texture.
- Red Cabbage: Adds a beautiful deep purple hue.
Troubleshooting: Common Microgreen Challenges and Solutions
Even with the best practices, you may encounter some challenges. Here’s how to troubleshoot common issues:
1. Mold and Mildew
Mold and mildew are common problems, especially in humid environments. Prevent them by:
- Ensuring good air circulation.
- Avoiding overwatering.
- Using a clean growing medium.
- Removing any affected microgreens immediately.
2. Leggy Growth
Leggy growth (long, thin stems) can be caused by insufficient light. Ensure your grow lights are close enough to the microgreens.
3. Seed Rot
Seed rot can occur if the growing medium is too wet. Ensure proper drainage and avoid overwatering.
4. Pests
Microgreens are generally less susceptible to pests than mature plants. However, keep an eye out for:
- Fungus Gnats: These tiny black flies can be controlled with sticky traps or insecticidal soap.
- Aphids: These small, sap-sucking insects can be removed with a strong spray of water or insecticidal soap.
Marketing and Selling Your Microgreens
If you’re considering turning your microgreen hobby into a business, here’s what you need to know:
1. Market Research
Identify your target market. Are you selling to restaurants, grocery stores, farmers’ markets, or directly to consumers? Research the demand for microgreens in your area.
2. Pricing
Determine your pricing based on your production costs, market prices, and the quality of your microgreens. Consider factors like the variety, packaging, and delivery options.
3. Packaging and Presentation
Use attractive and functional packaging that keeps your microgreens fresh and appealing. Consider using clear containers to showcase the vibrant colors of your microgreens.
4. Marketing and Sales
Promote your microgreens through various channels:
- Farmers’ Markets: A great place to connect with customers and build relationships.
- Restaurants: Offer samples and build relationships with chefs.
- Grocery Stores: Approach local grocery stores and offer your microgreens.
- Social Media: Showcase your microgreens and connect with potential customers online.
- Website/Online Store: Offer online ordering and delivery options.
5. Legal and Regulatory Considerations
Research any local regulations or permits required for selling produce in your area. Consider food safety certifications if necessary.
The Future of Microgreens: Trends and Innovations
The microgreen market is constantly evolving. Stay ahead of the curve by:
- Exploring New Varieties: Continuously experiment with new and unique microgreen varieties to offer your customers something special.
- Sustainable Practices: Adopt sustainable growing practices, such as using organic growing mediums and reducing waste.
- Vertical Farming: Consider using vertical farming techniques to maximize space and efficiency.
- Specialty Growing Techniques: Explore unique growing methods like hydroponics or aquaponics.
Conclusion: Embrace the Microgreen Revolution
Growing specialty microgreens is a rewarding endeavor that combines the joys of gardening with the excitement of culinary innovation. By following this comprehensive guide, you’ll be well on your way to cultivating your own microgreen empire. Embrace the journey, experiment with different varieties, and enjoy the satisfaction of providing fresh, flavorful, and nutritious microgreens to your customers or your own table. Happy growing!


